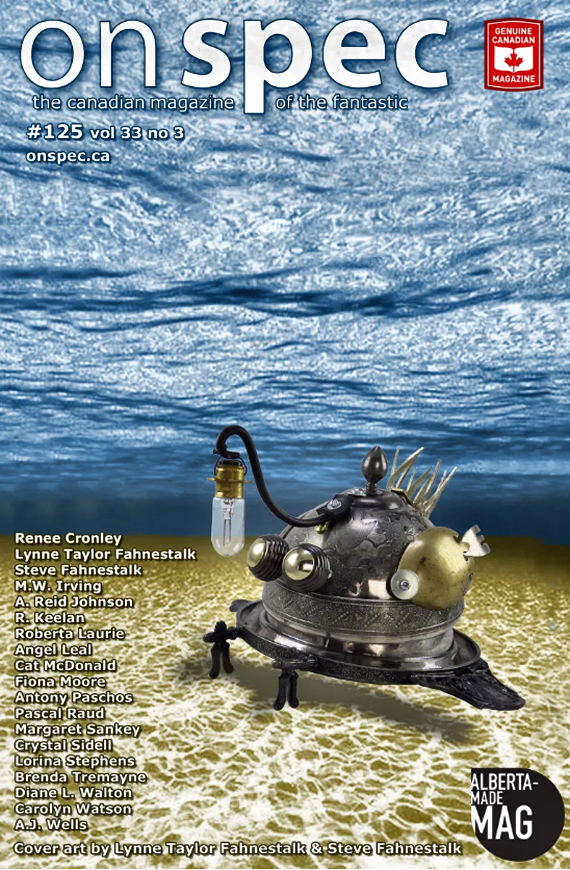
To begin November, I’d like to give a free plug to one of the longest-running Canadian SF magazines, On Spec. The reason I’m doing this you can see if you look at the magazine contents: the cover is by me—and my wife, the Beautiful and Talented Lynne Taylor Fahnestalk. (If you’ve been reading my column for a while you’ll have seen the above link to her Facebook “Bots” page, called “A Rivet of Robots,” which shows some of the fantastic sculptures she does with upcycled metal parts. She calls them “bots.” I do the photography once they’re finished; those photographs can wind up almost anywhere as on the cover shown here. And to put any nepotism suggestions out of the way, neither my wife nor I are associated with the magazine except as contributors. (Paid contributors; it’s a regular magazine, not a fanzine, that pays its contributors.)
Full disclosure: On Spec is, and/or was, published by the Copper Pig Society, a writing group started by my ex-wife and some of her friends many years ago; I stayed away from both the group and the magazine so as to give her/them their own space. I try not to intrude on others’ triumphs. I did design a logo for the magazine that was used for a number of years (can’t find the file, or I’d show it to you), but they probably thought it was too fannish or something and, without any explanation to me, dropped the logo in favour of the current one. I don’t blame them… in publishing you do what you have to do.)
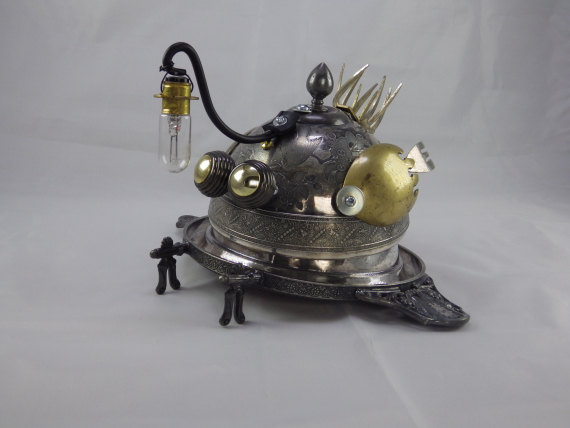
Since I was getting a new cover (Figure 1) Lynne thought you might be interested in how I do what I do with her bots. Please bear in mind that I’m neither a photography nor a Paint Shop/graphics expert (though I have done both professionally), and the way I do things might just be either idiosyncratic or just plain dumb. But it’s what I do. My usual tools are a nylon photo cube with LED lights and a Canon EOS DSLR, plus Paint Shop Pro 9.1 (from before it was acquired by Corel). I have an original JASC Software (paid for!) disc of the program. My original light setup was home-made; I took some foamcore and cut apart a long LED light strip, then pasted the sections on the foamcore and soldered the ends together. It got me some good light, but no matter what I tried, the individual lights did reflect on whatever bot I was photographing if it was at all reflective. (I’ve since gotten some LED lights that don’t show the individual LEDs as much.) I turned the bot 360 degrees and photographed it anywhere from 8 to 14 times. (It got easier when I bought a little turntable that can gear down for a very slow turn.) Then I decide what angle shows off the bot to best advantage.
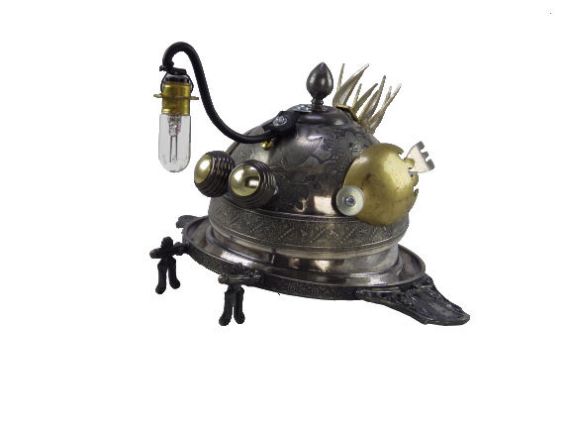
Using the “magic wand” tool (Photoshop has the same tool) to begin with, then manually selecting or deselecting specific elements, I removed the background (Figure 3). I use Paint Shop Pro because I’ve been using it for so many years I don’t have to think about how to use a specific tool, even though Photoshop, for example, can automatically do a number of things I must do manually with PSP. Ease of use is a big time factor in preparing these photographs. After the background is removed, I “punch up” the photograph of the bot, adjusting colour balance (from “cool” to “warm” or “hot”), brightness and contrast, and cleaning up any glitches that may have occurred to this point. (It’s not important to actually trace the outline perfectly accurately, as when the image is reduced, most imperfections in outline are unnoticeable.) Normally, now that I have the image I want, I will leave it on a white background and add a shadow with the “spray” tool. (I used to put a gradient—gray to white—background, but we’ve lately begun just showing off the image on a plain white background. It may change again in future. (FYI—if the image is a “selection,” the background can be manipulated separately from the bot, so the fake shadow looks very realistic if done well.
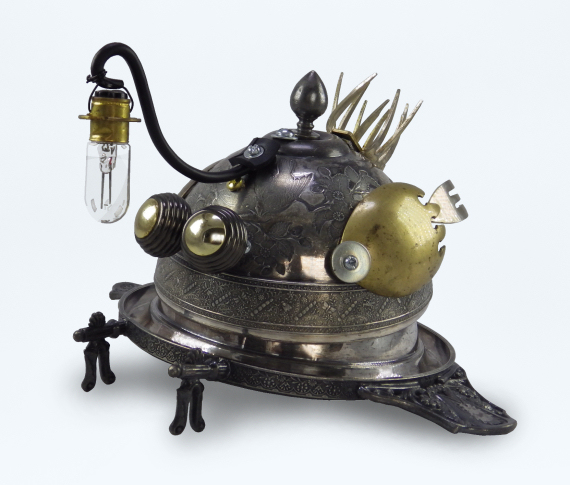
At this point, I’m usually done, as Lynne normally only needs the photo for her Facebook page. But in this case, she wanted to sell this photo to On Spec for a cover, and it needed an underwater background so it would look “at home.” So I set out to find a royalty-free underwater background that I could adapt for the photo. The best one I found was a landscape background (Figure 5), and On Spec’s cover is portrait mode. So I needed to change landscape to portrait—not necessarily an easy task.

Figure 5 shows the background I selected. As you can see, the water makes the sandy ground very blue, and I needed it to look sandy, both for contrast with the water (and to set the scene visually) and to set off the bot itself. I also needed the bot to look like it was floating, so the shadow needed adjusting. Which means some colour adjustment. The early landscape version with “Angler Bot” is shown in figure 6.
And finally, after I had used various tools including a “clone” brush, which copies portions of the image to other places (and is undetectable if done right), I managed to get the underwater scene coloured to my satisfaction and the shadow placed right on a portrait rather than a landscape scene.

Compare Figure 6 with the cover shown in Figure 1. It takes longer, sometimes, to write it down than it does to actually do the work. If I did my job right, you will accept that this weird little angler bot lives underwater and floats around trying to attract its prey with a light bulb. I hope you’ve enjoyed this little snippet of information on how I do my bot photographs, adapting them to the needs of the moment.
Please comment on this column if you can. It gets kinda lonely here with no response from my friends (well, some of you comment some of the time). You can comment here or on Facebook, or even by email (stevefah at hotmail dot com). All comments are welcome! (Just be polite, please.) My opinion is, as always, my own, and doesn’t necessarily reflect the views of Amazing Stories or its owner, editor, publisher or other columnists. See you next time!
Kermit is an omnicompetent individual who grew up in a former bawdy house before relocating to his state’s capital city. His family includes many talented artists and an uncle who founded The Church of Bigfoot. He has a passion for storytelling often exploring new ways to engage audiences.

